Modeling Text with OpenSCAD
Once you have a 3d printer for a while, you start getting the itch to create your own objects. I've heard some good things about OnShape, that will likely be the next tool I try out. I frequently use Fusion360, the timeline and user parameters are a good mix of visual design and programatic control. However, sometimes I reach for OpenSCAD. For when I want to model by writing a program.
The Project
In June 2016 a few coworkers got the idea that we wanted to have a 3d printer in the office. We started a kickstarter-like funding campaign to see if there was enough interest to make it happen. Long story short, there was. Ordered it, built it and we have had it up and running ever since. We opted for the Prusa i3 MK2 since a few of us already had experience with one. It was a ton of fun, I can recommend it for any company with enough technically inclined minds to put it together and keep it going.
The reason this is relevant is that after our kickstarter style campaign ended, one of the things we promised the "backers" was a plaque with the names of everyone who had contributed. Enter OpenSCAD.
The canvas
First thing is to create a rectangle to draw on. This uses the cube function even though it is a rectangular prism. I appreciate the conciseness at the expense of preciseness.
surface_width = 20;
surface_height = 20;
surface_depth = 2;

cube([surface_width, surface_height, surface_depth]);
Writing 3D Text
OpenSCAD makes this simple. There is a text function to draw 2D text. Then you just have to linear_extrude it in order to make it 3D. I used the DejaVu font since it has good unicode support and I needed the cat character.
text_depth = 1;
linear_extrude(text_depth) {
    text("\U01f431", font="DejaVu Sans");
}
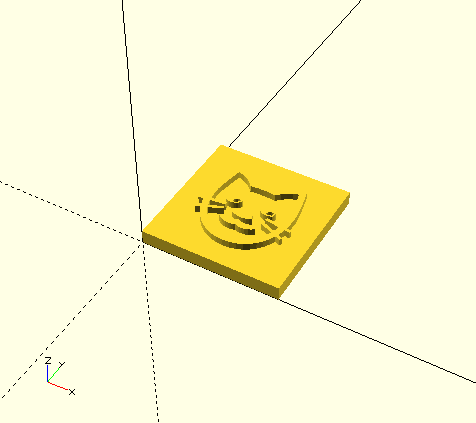
Putting it all together
All that is left is to join the surface with the text. Also use the translate function to put the text in the center.
surface_width = 20;
surface_height = 20;
surface_depth = 2;

text_depth = 1;

union() {
    cube([surface_width, surface_height, surface_depth]);
    translate([3,4,surface_depth]) {
        linear_extrude(text_depth) {
            text("\U01f431", font="DejaVu Sans");
        }
    }
}
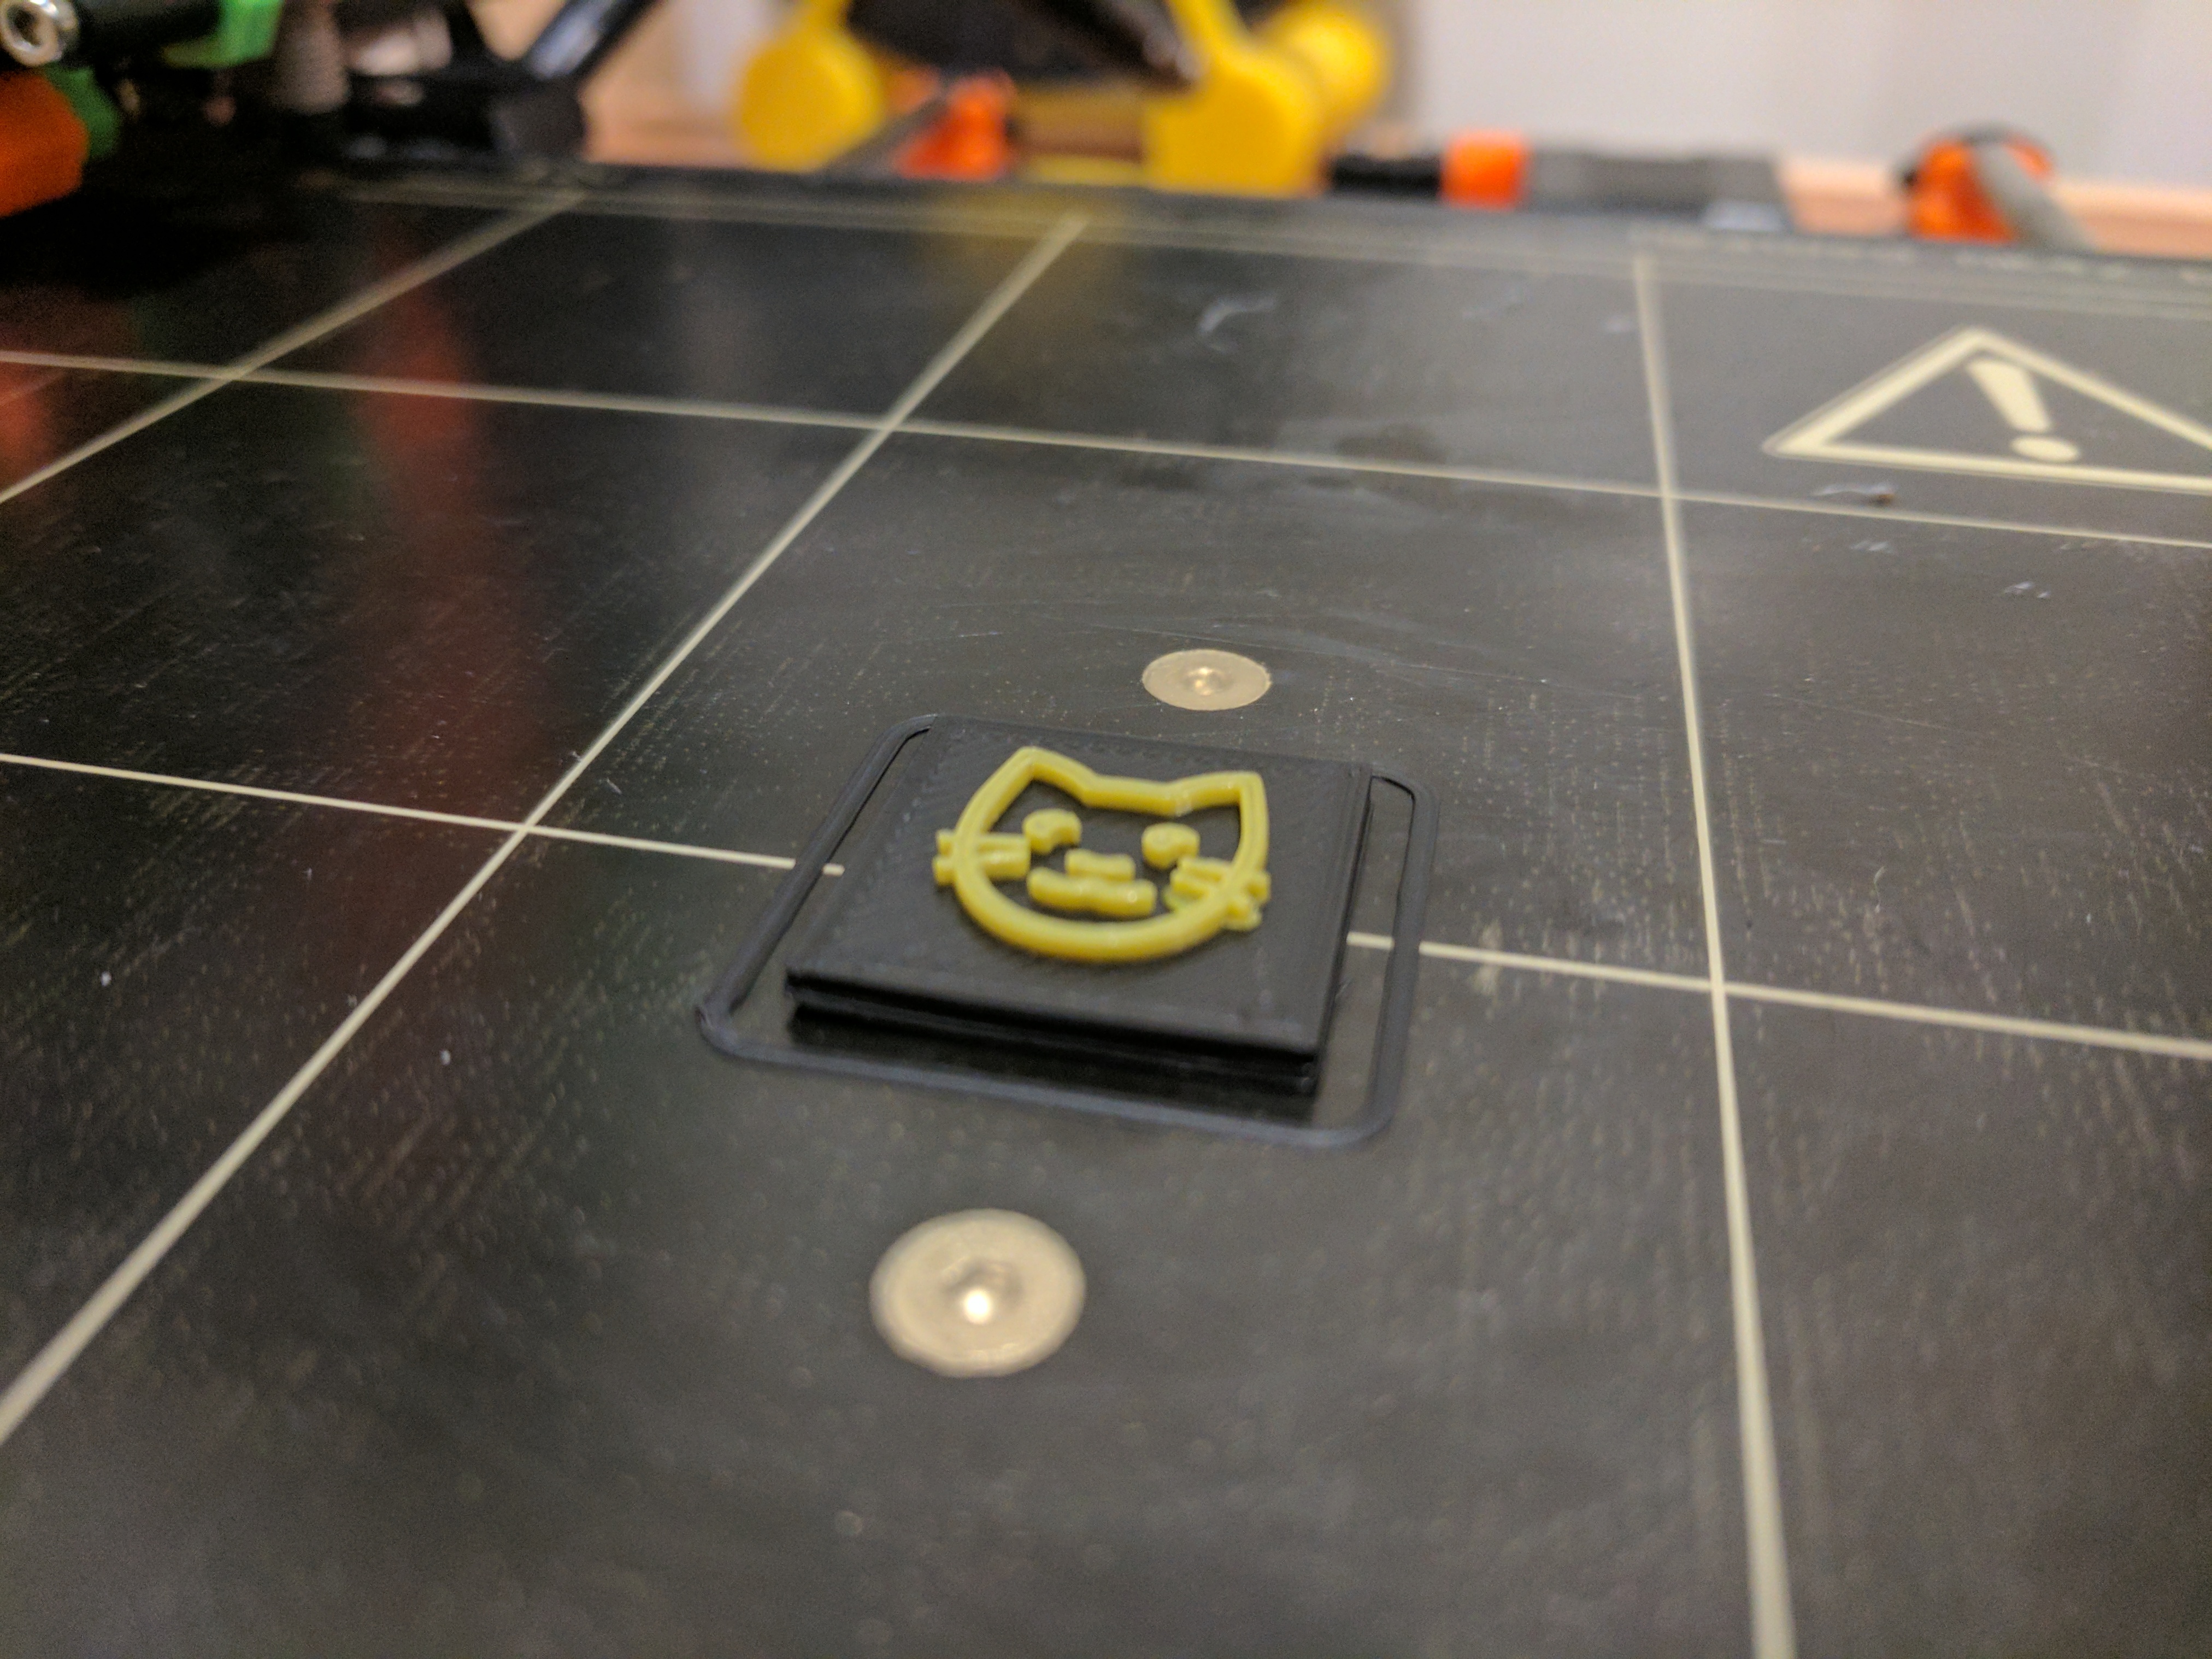
Slicing and Printing
The plaque I ended up creating took up the entire 250x210 bed on the (Prusa i3 MK2) so I had some different settings there for speed purposes. Mainly fewer solid layers on the top/bottom and lower infill percent. For this sample I left the default settings on the Prusa edition of slic3r.
One last thing: color change
In order to really make the text stand out, I decided to include a color change gcode in the file. This will instruct the printer to pause, move the print head out of the way of the print and do a filament change. The way I did this is with ColorPrint. It is very important not to use the zhop printer profile in slic3r when also using ColorPrint. For this sample I included a color change at z=2.15.